Guide
There are endless possibilities for your next scrapbooking project. Read on to get inspired!
Sep 1, 2022
Scrapbooking is a fun, creative way to document your life and memories in a unique, personalized way. Whether you are looking to create a scrapbook of your favorite vacation, or a wedding, or to capture your everyday life simply, scrapbooking can be a great way to express yourself and create something meaningful. With the right ideas and materials, you can create something beautiful out of the ordinary. These scrapbooking ideas can inspire your next project to be something truly special; a one-of-a-kind work of art that you can look back on and cherish for years to come. There are endless possibilities for your next scrapbooking project. Read on to get inspired!
Unlock Your Creativity
When you are scrapbooking, you have the opportunity to be incredibly creative and let your imagination run wild. This is a great way to express your creativity and try something different, especially if you are looking for a hobby to spice up your life and let your creativity flow. Scrapbooking is all about experimenting and playing with different styles and layouts to create something special for you. You can create a scrapbook that tells a story or a memory book that documents a specific event, or you can create a scrapbook that showcases your favorite things or interests.
Finding Inspiration
Coming up with creative scrapbooking ideas isn’t always that easy. For inspiration, it can be helpful to look at scrapbook layouts from other people. Scrapbook.com has a vast collection of inspiration for crafting ideas in its gallery. You can also visit online scrapbooking forums, look at Pinterest boards or follow other crafters on social media. By looking at layout ideas, you can get creative inspiration and ideas for your project. What do you want to focus on? How would you like your project to look? These are all helpful questions to ask yourself as you work on your layout.
Picking a Scrapbook Theme
Once you get inspired, you can start brainstorming themes for your scrapbook. Think about the moments that brought you joy. It can be a vacation, a wedding, the birth of a new baby, a new home, or simply your everyday life; it’s up to you!
Scrapbook Layouts
Once you have chosen a theme, the next step is creating a layout. A layout is the design and structure of your project, including the materials you use and your design and placement. There are endless ways to create layouts for your scrapbook, and you can really experiment with different styles. You can create a scrapbook layout that is creative and artsy, or you can create a layout that is beautiful and simple. There are no rules when it comes to scrapbooking, which is one of the best parts of the hobby.
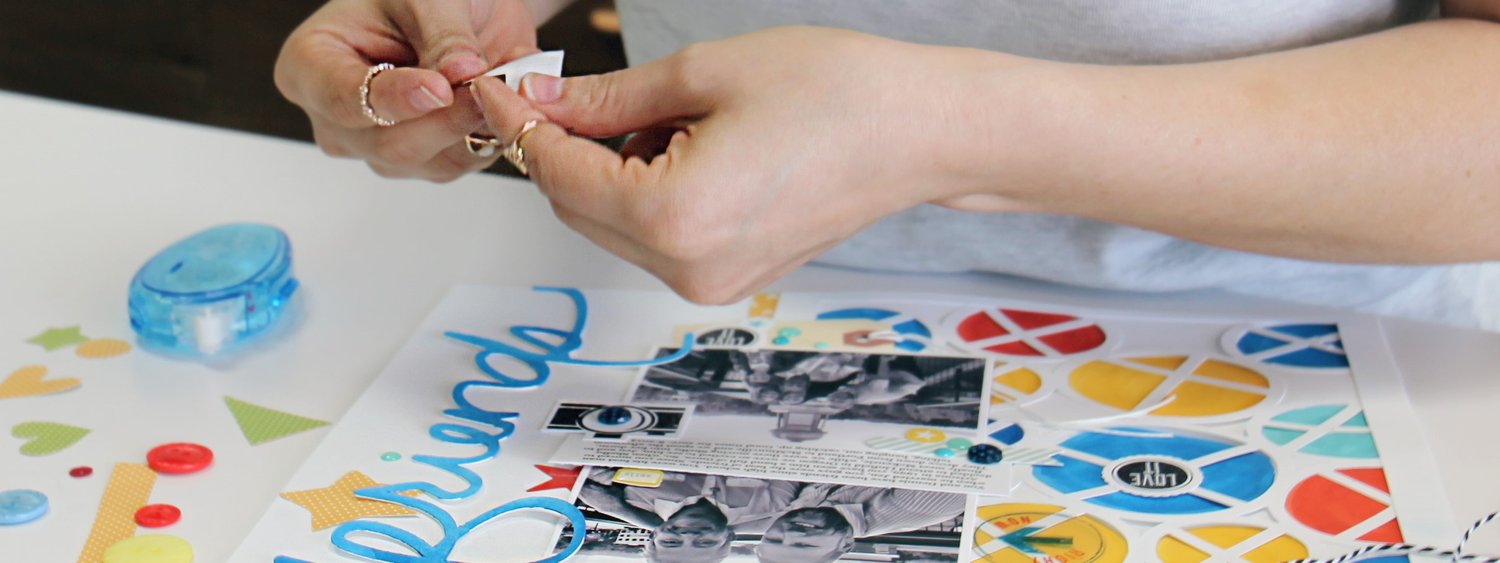
Adding Personal Touches
Adding personal touches to your layout, such as photos, quotes, and embellishments, can help make your project more meaningful and showcase important moments. You can create a collage layout or pocket layout using photos and quotes, or use embellishments to add more personality and design elements to your layout. These personal touches can help make your layout unique and special.
Conclusion
Scrapbooking is a creative hobby that allows you to express yourself and document your memories in a unique way. When you are looking for creative scrapbooking ideas, check out other projects as a way to get inspired. From there, you can pick a theme and start to come up with layouts and design ideas to create something that is truly special. Once you have your ideas, it is time to get creative and have fun with your layout. From using unique materials to adding personal touches with photos and embellishments, there are endless possibilities for your next project.

